Nigeria’s quest for sustainable and reliable energy solutions has led to an increasing interest in solar energy. Solar panels, a clean and renewable source of energy, are becoming a popular choice among Nigerians, both in urban and rural areas. If you’re looking to reduce your electricity bills, achieve energy independence, or make a positive impact on the environment, installing solar panels on your roof is an excellent option. This article provides a step-by-step guide on how to install solar panels on roof in Nigeria, complete with tips and practical advice for a successful installation.
Read more: How To install solar panel and inverter
Understanding the Basics of Solar Panel Installation
Before diving into the process, it is essential to understand the basics of solar panel installation. Solar panels convert sunlight into electricity through photovoltaic (PV) cells. These panels are typically mounted on rooftops where they can receive maximum sunlight exposure. To install solar panels on your roof in Nigeria, you need to consider factors like roof suitability, energy needs, and installation costs.
Assessing Your Roof for Solar Panel Installation
The first step in installing solar panels on your roof is to assess its suitability. Not every roof is ideal for solar panel installation, so it is crucial to conduct a thorough evaluation. Here are some key considerations:
Roof Orientation and Tilt
In Nigeria, the sun is generally in the southern part of the sky. Therefore, roofs that face south are the most suitable for solar panel installation. However, east- and west-facing roofs can also work, but they may not be as efficient as a south-facing roof. Additionally, the tilt of your roof plays a significant role in the efficiency of the solar panels. Ideally, a tilt angle between 10 to 30 degrees is perfect for capturing the most sunlight.
Roof Condition and Material
The condition and material of your roof are also important. Solar panels can be installed on most roofing materials, such as metal, tile, and asphalt shingles. However, the roof must be strong enough to support the weight of the panels and the mounting equipment. If your roof is old or damaged, you may need to repair or reinforce it before installation.
Determining Your Energy Needs
Before installing solar panels on your roof, it is essential to determine your household’s energy needs. This step will help you decide the number of panels required and the overall capacity of the solar system.
Calculating Your Electricity Consumption
Start by reviewing your recent electricity bills to understand your average monthly consumption in kilowatt-hours (kWh). Most Nigerian households consume between 100 to 300 kWh per month, but this varies depending on the number of appliances, air conditioning units, and lighting systems in use. Once you have this information, you can estimate the size of the solar panel system needed to meet your energy requirements.
Considering Future Energy Needs
Think about your future energy needs as well. If you plan to add more electrical appliances or expand your home, factor these changes into your calculations. A slightly larger system can accommodate future energy demands without requiring additional installations.
Choosing the Right Solar Panels and Equipment
With a clear understanding of your roof’s suitability and energy needs, the next step is to choose the right solar panels and equipment. There are different types of solar panels available in Nigeria, each with its advantages and disadvantages.
Types of Solar Panels
- Monocrystalline Solar Panels: These panels are known for their high efficiency and long lifespan. They are made from a single crystal structure, making them more efficient at converting sunlight into electricity. However, they are usually more expensive than other types.
- Polycrystalline Solar Panels: These panels are made from multiple silicon crystals and are generally less efficient than monocrystalline panels. They are, however, more affordable and still provide a good return on investment.
- Thin-Film Solar Panels: These are lightweight and flexible panels, making them suitable for certain roof types. They are less efficient compared to the other two types and may require more space to generate the same amount of power.
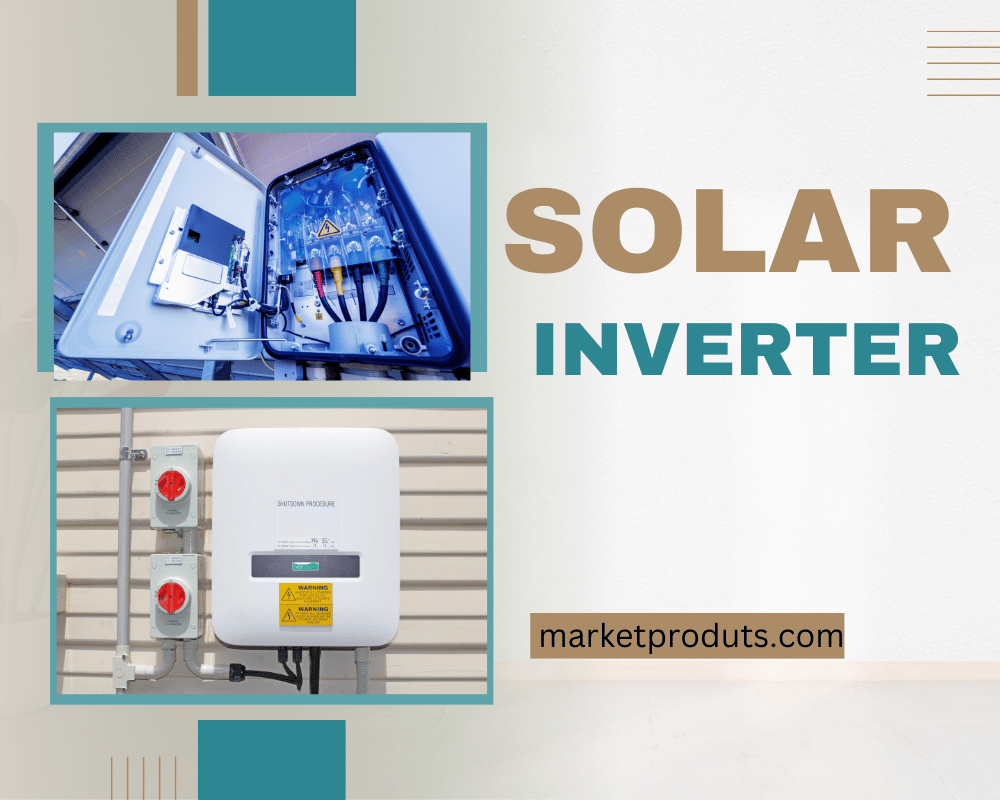
Selecting Inverters and Batteries
In addition to solar panels, you will need an inverter to convert the direct current (DC) generated by the panels into alternating current (AC) for household use. There are different types of inverters available, such as string inverters, microinverters, and hybrid inverters.
Batteries are also essential for storing excess energy generated during the day for use at night or during cloudy periods. Choose high-quality batteries like lithium-ion or deep cycle batteries, which have a longer lifespan and better efficiency.
Hiring a Professional Solar Installer or Going DIY?
When it comes to installing solar panels on your roof, you have two main options: hiring a professional installer or doing it yourself (DIY). Both have their pros and cons.
Advantages of Hiring a Professional Solar Installer
- Expertise and Experience: Professional installers have the knowledge and experience to ensure that your solar panels are installed correctly and safely.
- Warranty and Support: Many solar panel manufacturers require professional installation to honor their warranties. Professionals also provide post-installation support and maintenance.
- Time-Saving: Hiring a professional saves you time and effort, allowing you to focus on other things while the installation is handled by experts.
Benefits and Challenges of DIY Solar Panel Installation
- Cost Savings: Doing it yourself can save you money on labor costs. However, it requires a significant amount of time, effort, and technical know-how.
- Learning Opportunity: A DIY approach allows you to learn more about solar energy systems and how they work. This knowledge can be valuable for future maintenance and troubleshooting.
- Safety Risks: Installing solar panels involves working at heights and dealing with electrical components, which can be dangerous without proper training and equipment.
Steps to Install Solar Panels on Your Roof
If you choose to go the DIY route, follow these steps to install solar panels on your roof in Nigeria:
Step 1 – Gather Necessary Tools and Equipment
Before starting the installation, gather all the necessary tools and equipment, such as a drill, wrench, screws, mounting brackets, inverters, batteries, and, of course, the solar panels. Ensure you have safety gear, including gloves, safety glasses, and a harness.
Step 2 – Install the Mounting System
The mounting system holds the solar panels in place on your roof. Start by installing the mounting brackets and rails according to the manufacturer’s instructions. Ensure the mounting system is securely attached to the roof structure to withstand strong winds and other weather conditions.
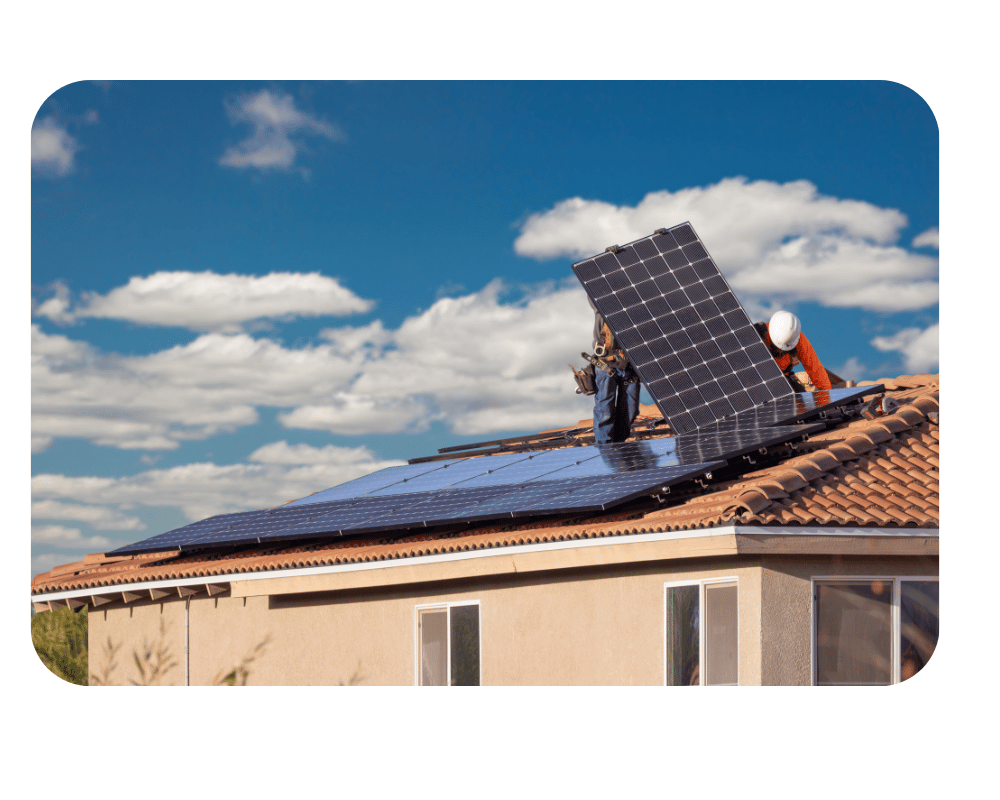
Step 3 – Attach the Solar Panels
Once the mounting system is in place, carefully attach the solar panels to the rails. Ensure they are securely fastened and properly aligned for maximum sunlight exposure. Double-check the positioning to avoid shading from nearby trees, buildings, or other structures.
Step 4 – Connect the Electrical Components
Connect the solar panels to the inverter using the appropriate wiring. The inverter converts the DC power generated by the panels into AC power for household use. Follow the wiring diagram provided by the manufacturer to avoid any mistakes.
Step 5 – Install the Battery Storage System
If you are using a battery storage system, connect the inverter to the batteries. Ensure that the batteries are installed in a well-ventilated area to prevent overheating. Test the system to ensure that the batteries are charging correctly and the inverter is working properly.
Step 6 – Connect to the Electrical Grid (If Applicable)
If you plan to connect your solar system to the national grid, you will need to obtain the necessary permits from your local electricity distribution company. A licensed electrician can help with this process and ensure that the connection meets safety standards.
Step 7 – Test and Monitor the System
After the installation is complete, test the entire system to ensure it is functioning correctly. Monitor the system’s performance regularly to identify any issues early on. Most solar systems come with monitoring software that allows you to track energy production and usage.
Maintenance Tips for Your Solar Panel System
Solar panels require minimal maintenance, but regular checks can help ensure optimal performance and longevity. Here are some maintenance tips:
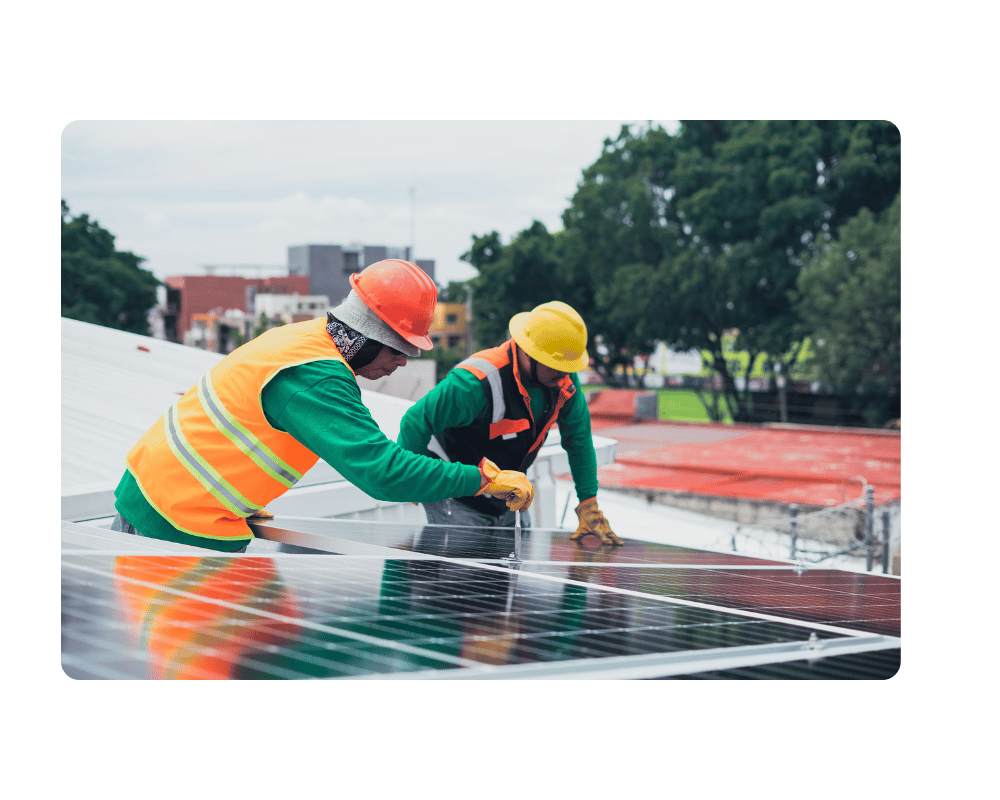
Cleaning the Solar Panels
Dust, dirt, and debris can accumulate on the surface of solar panels, reducing their efficiency. Clean the panels with water and a soft brush every few months, especially during the dry season in Nigeria.
Inspecting the Electrical Components
Regularly inspect the wiring, inverters, and batteries for any signs of wear or damage. Address any issues promptly to prevent further complications.
Professional Maintenance Services
Consider scheduling annual maintenance checks with a professional solar technician to ensure your system is in top condition. This can help you avoid costly repairs and maintain the system’s efficiency.
Conclusion
Installing solar panels on your roof in Nigeria is a significant investment that can provide long-term benefits, including lower energy bills, energy independence, and a reduced carbon footprint. By following this step-by-step guide, you can successfully install solar panels on your roof, whether you choose to do it yourself or hire a professional. With the right preparation, equipment, and maintenance, you can enjoy a reliable and sustainable source of energy for years to come.